Making Dhal Technique
- 45 minutes
This exposes the ‘secrets’ of making beautiful dhal, and more importantly digesting dhal(legumes), without unpleasant and unwanted side effects (wind). The simple things that make all the difference are: wash it well, scoop the froth, always add ginger and oil while cooking, and always serve with a squeeze of lemon or lime. Follow carefully and you will become a master easily.
-
- 250 ml red lentils
Wash the legumes (red lentils or yellow mung) very well. At least three (3) rinses until the water is nearly clear (their processing creates a lot of dust etc).
-
- 750-1000 ml water
Add the water to the pot and bring to the boil and then lower heat to a simmer.
From that first boil a lot of froth will arise on the surface. Scoop off the froth and discard it. The froth contains substances that inhibit digestion and create gas (vata). You will not get it all but try for most of it.
Note: This is very important!
-
- 2-3 tablespoon ginger, grated
- 1 tablespoon Ghee
Then add some fresh (or powdered) ginger. And some ghee or oil.
Ginger, or any member of the ginger family, greatly assists the ability of the body to digest legumes successfully. And, as legumes are hard and dry by nature the addition of some oil or ghee while cooking helps soften that quality.
After a while, add any powders you may wish to add to flavour your dhal – almost always turmeric, but others may included curry powder, coriander powder, cardamom powder. Do add salt until cooked as it inhibits the breaking down of the legumes.
Note: always as some ginger when cooking any legumes.
-
- water
- 1 teaspoon Good Salt, unrefined.
- if desired vegetables, various colours
Continue cooking on a low heat now until they are very soft and breaking down – 30-45 minutes (unless using a pressure cooker).
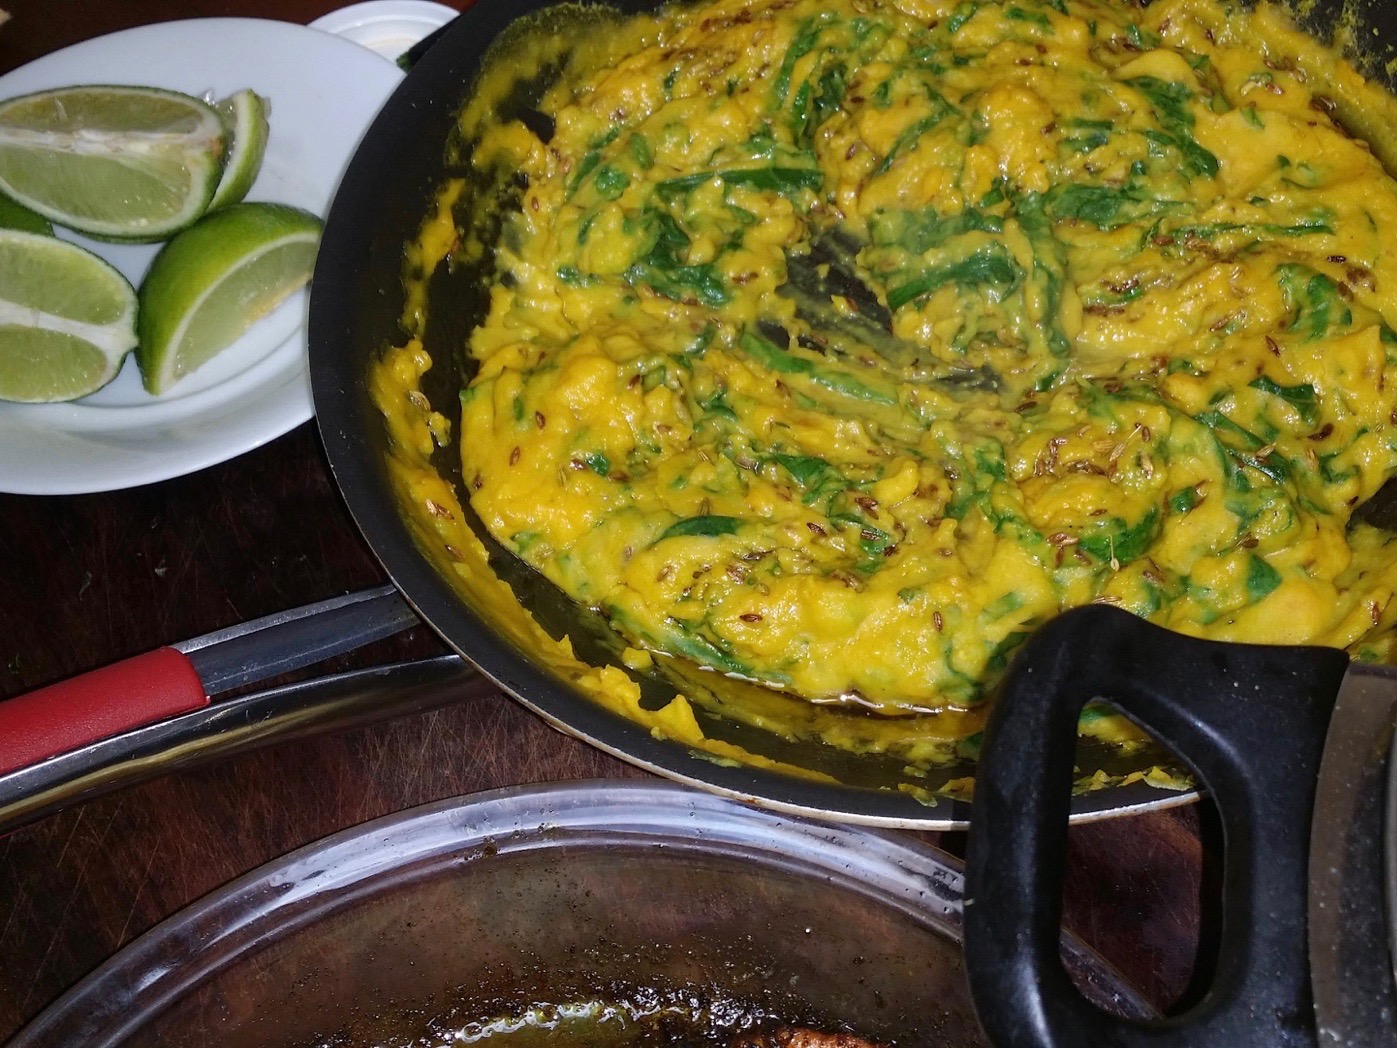
Now add the Good Salt. And any vegetable you may feel like adding eg. spinach for ‘Marbled Dhal’
Using a whisk or kitchen whizz, whisk to a smooth almost even texture, if that is your liking, or leave some texture to them.
Adjust the consistency to your liking by adding water, stock or some ‘whey’ that may be left over from ‘Making Paneer’. Sometimes a thick dhal is great and at other times a more soupy, thinner dhal is required.
-
- 2-3 tablespoon lemon juice
- or lime wedges
Always add some lemon or lime at the end of cooking. Or serve wedges at the table and instruct your guest to squeeze it over the dhal.
The citrus also greatly assists the body’s ability to digest legumes successfully. And it really makes the dhals taste come alive!
This a great secret of good dhal!
Note: we may want to add some feature vegetable(s) to our dhal. Add them as the dhal begins to break out or (as pictured) add spinach or quick cooking vegetables towards the end.
-
- 1-3 teaspoon cumin seeds
- 1 tablespoon Ghee
- pinch (optional) asafeotida (hing)
NOW! This is a great joy of dhal cooking and serving. It is spicing the dhal with whole seeds just before serving. It is called the ‘tarka’ (or chaunce in french cooking).
I have special small iron pan just for this purpose (but any small fry pan will do. Or. a larger one if you are soften some tomato with the spices- add after browning the seed a little).
Heat some ghee or oil in the pan and add the cumin (or whole seeds) and the ‘hing’ and gently roast until fragrant and slightly browned.
Then tip it all onto the finished dhal, it sizzles and the aroma fills the kitchen. Then stir through and serve.
Note: a classy act is to ‘tarka’ the dhal at the table. Very impressive.
Many variations are possible but it you follow this technique it will be great and will digest well, without ‘lifting the blanket’ at night.
PS. dont forget the lime or lemon wedges!!!


